Airy Art Chandelier How-To

This step-by-step will help you turn any window into a colorful, airy work of art.
With a few simple supplies and a free afternoon, you can create this adorable fixture for any room in your home. Hang it near a window to make the most of its effects!

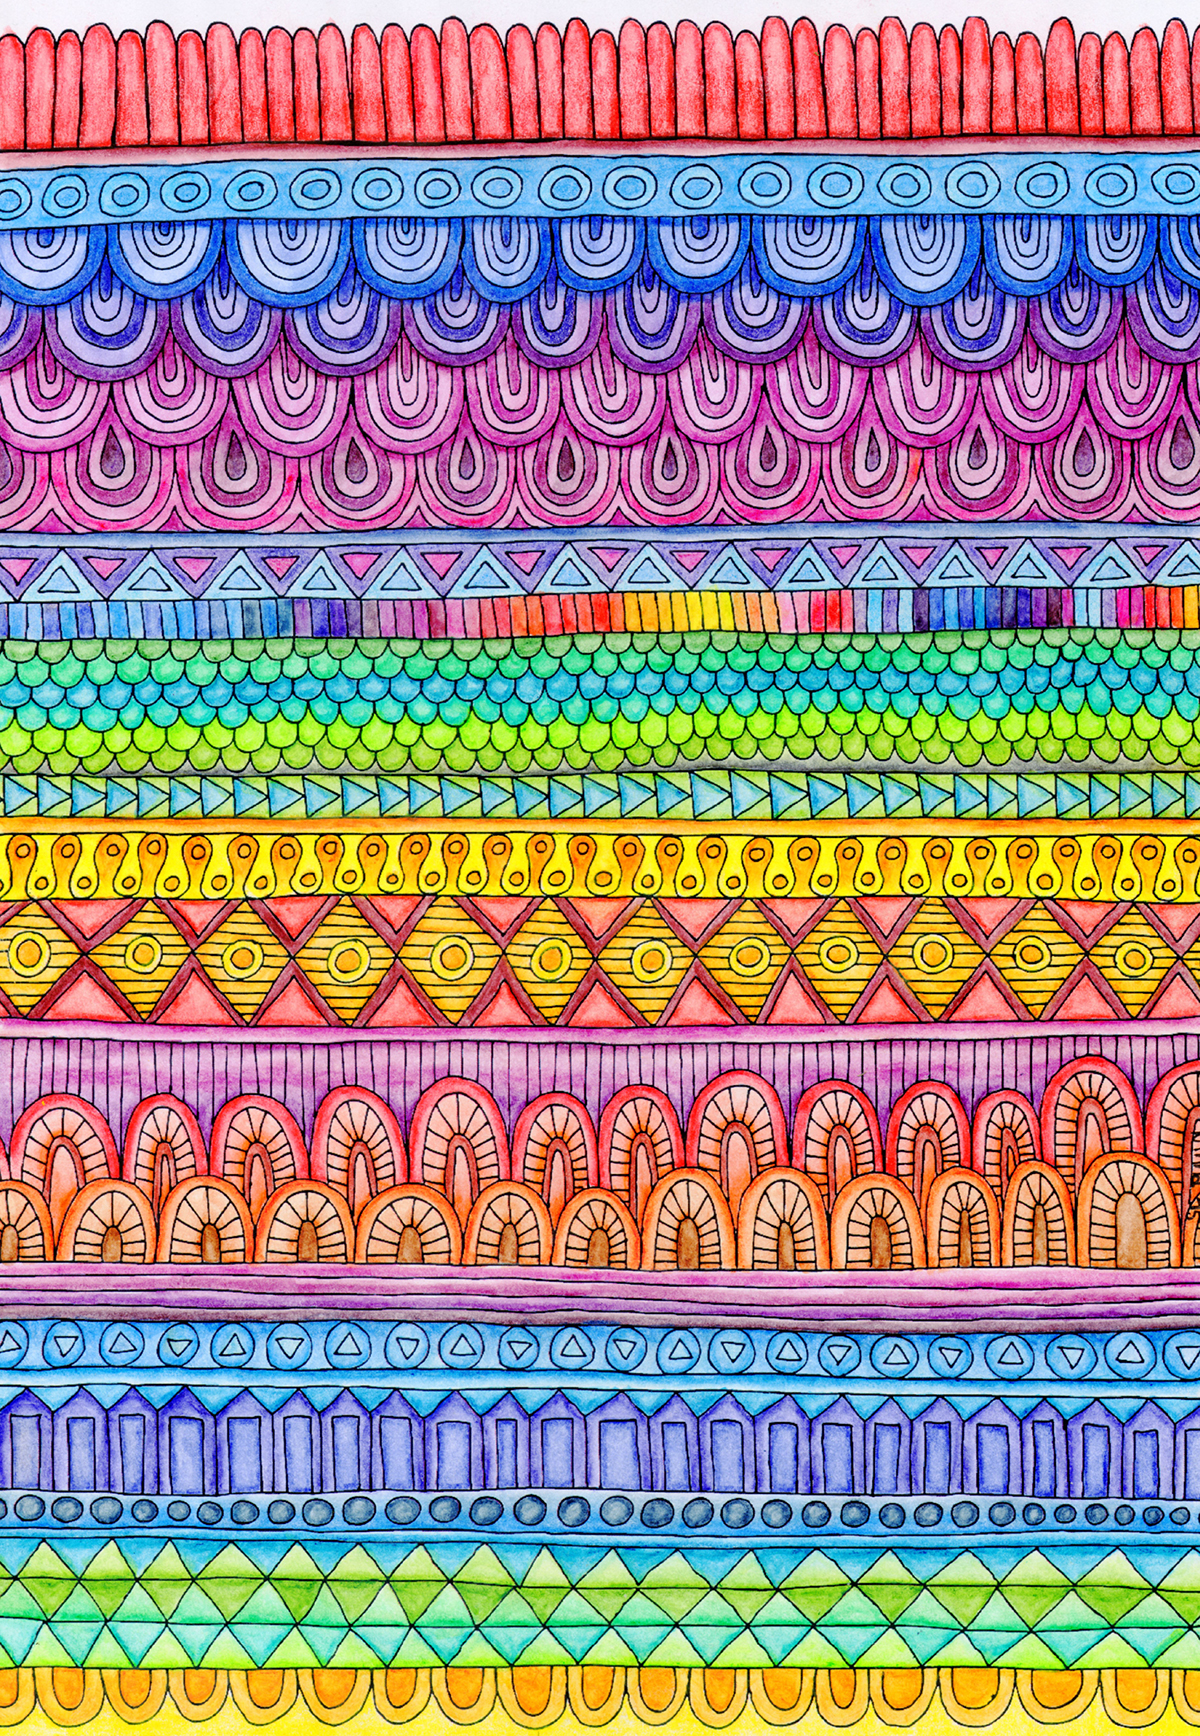
1. Scan and print your design.
Scan your finished coloring page(s) and print multiple copies onto sheets of semitransparent vellum paper. Most home printers can print on vellum*.
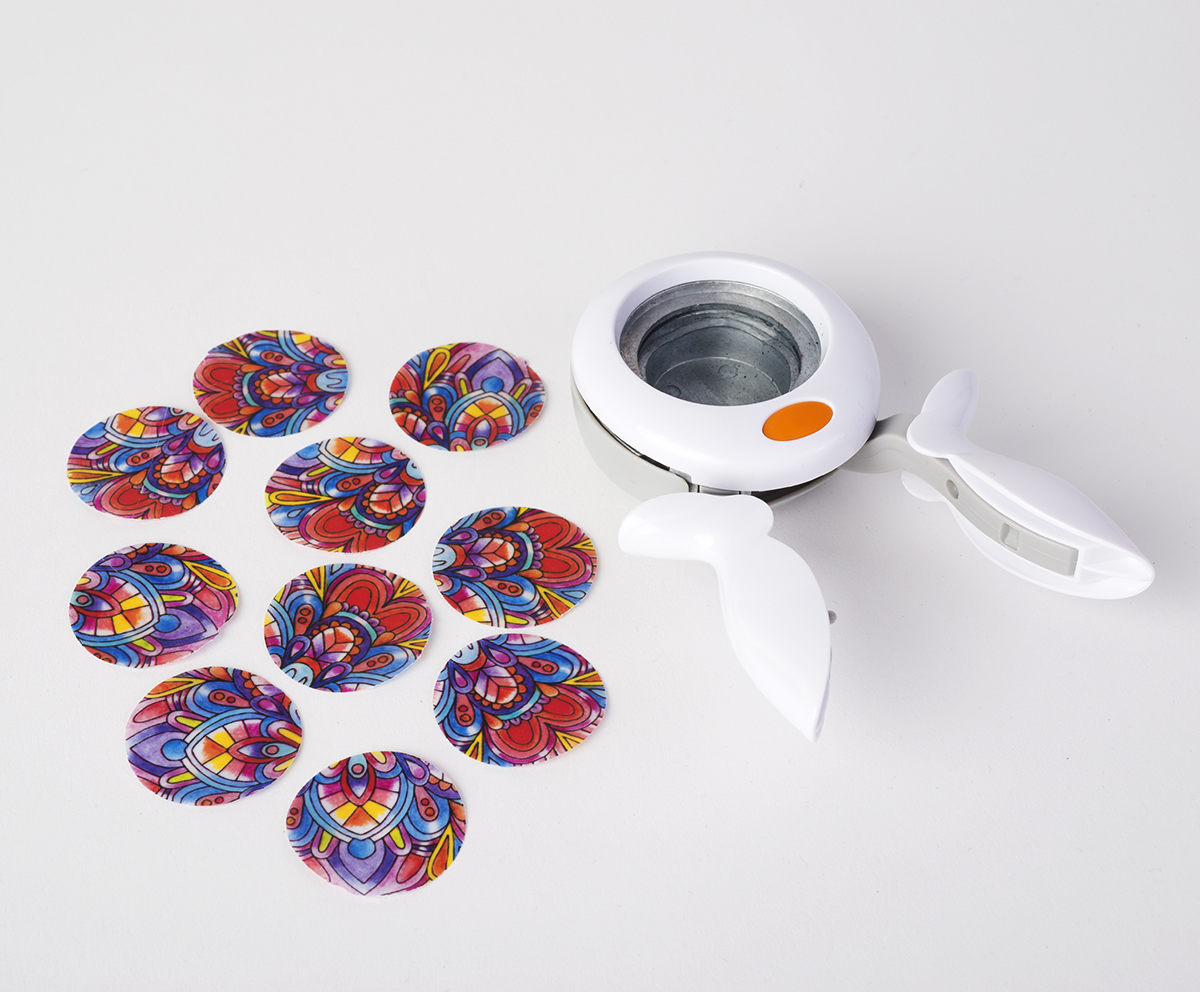
2. Cut out the circles.
Use a circle paper cutter to punch out numerous vellum circles. You’ll need quite a few—the chandelier shown here used nearly one hundred 1-inch (2.5cm) circles!
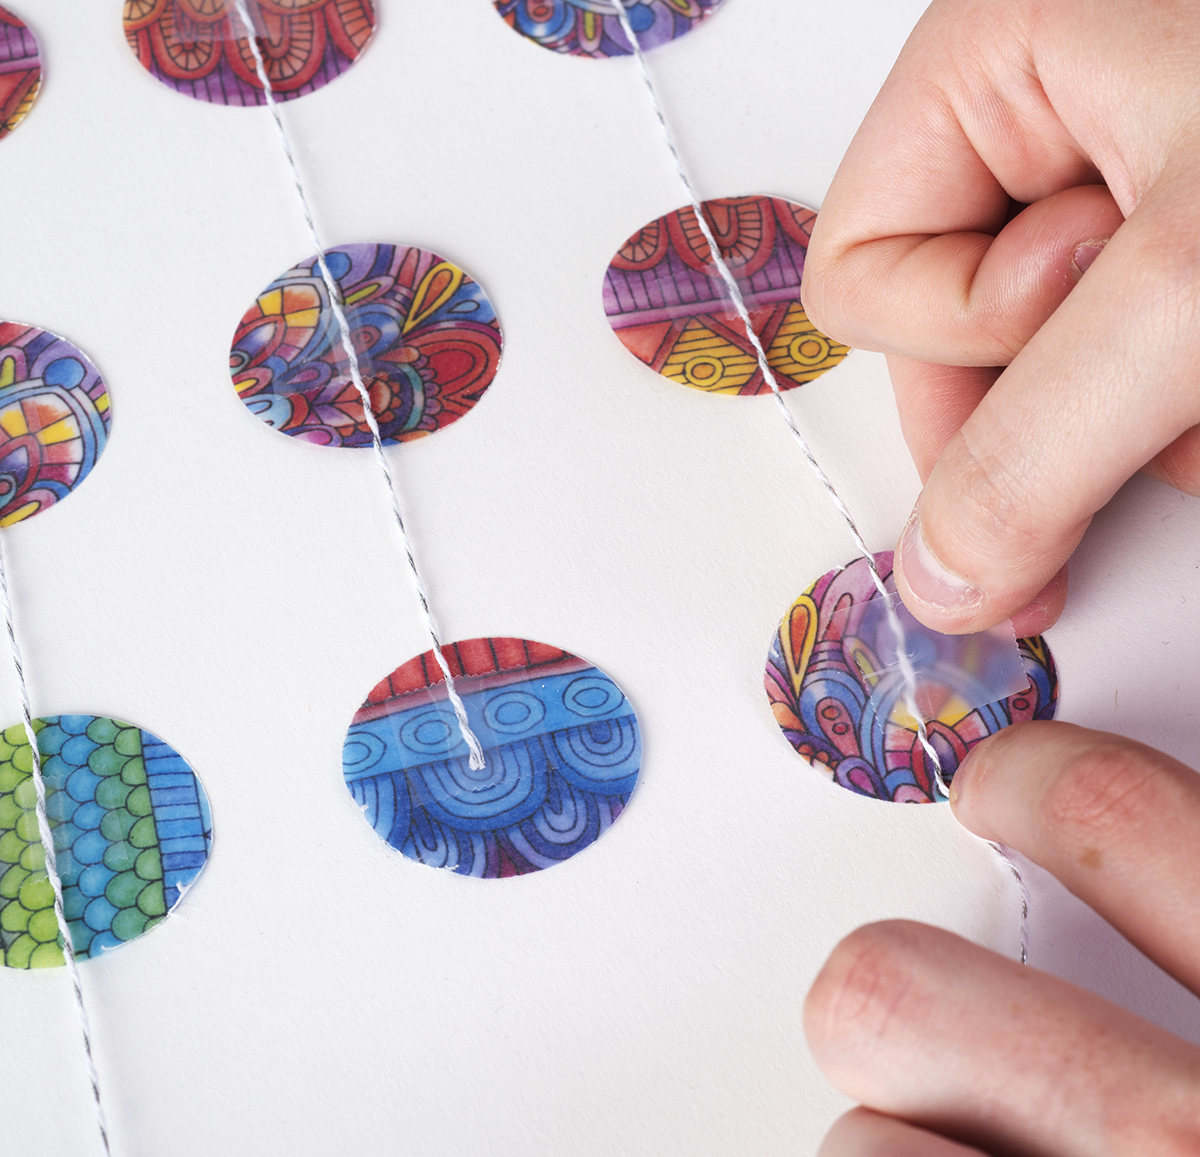
3. Make the strands.
Using glue or tape, adhere the vellum circles to lengths of embroidery floss. There’s no need to double them up, as the transparent vellum shows the color on both sides, but you can if you prefer.
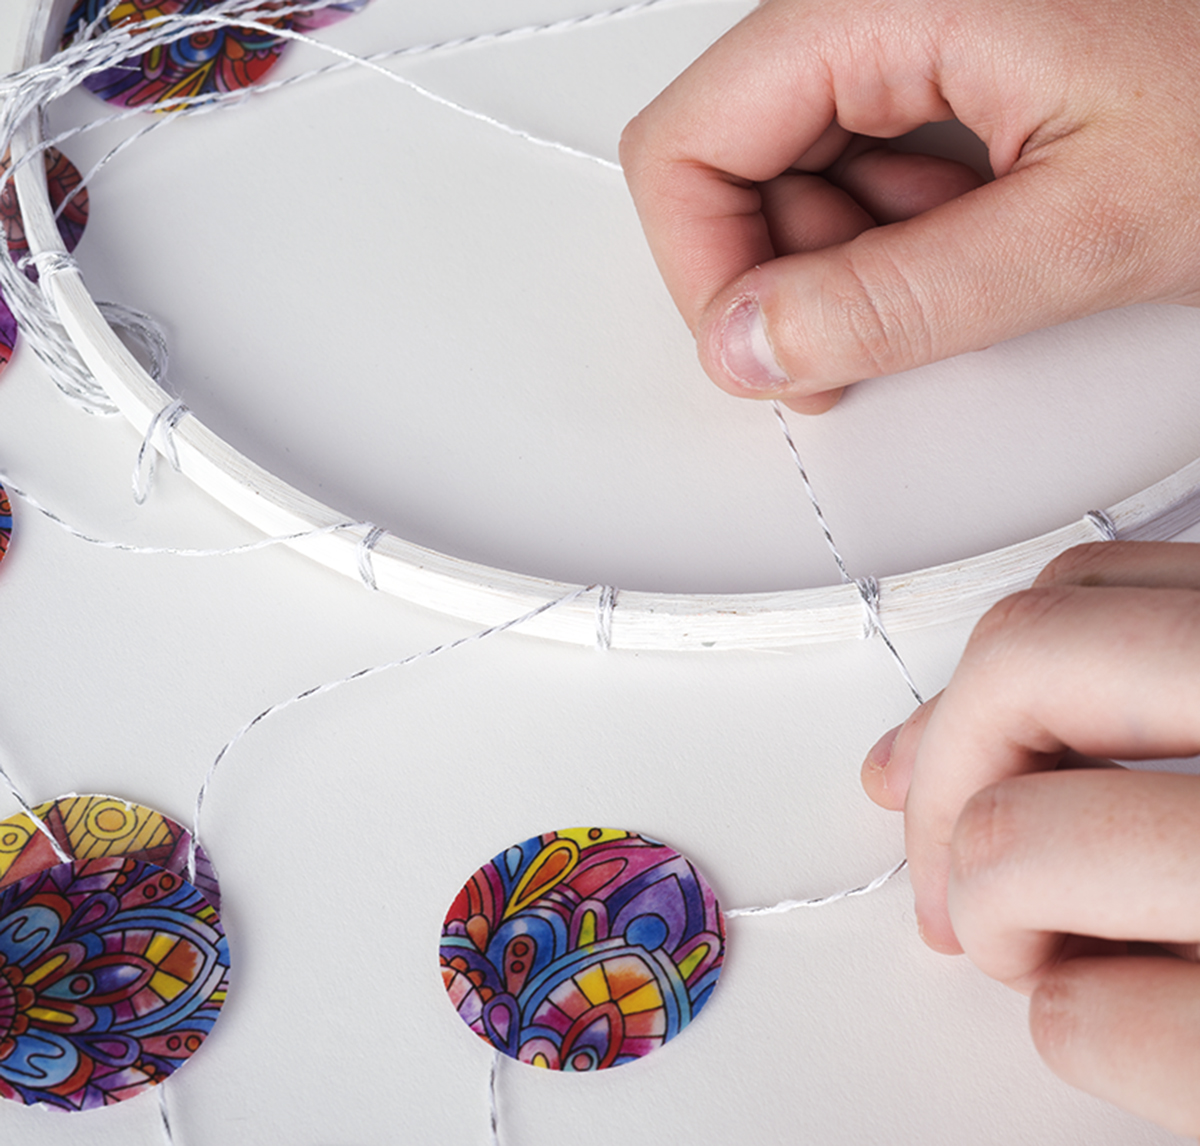
4. Assemble the chandelier.
Tie or glue each strand to the embroidery hoop in evenly spaced intervals.
5. Voila!
Place your creation in a sunny window and watch the colors dance!
PROJECT PATTERN SHOWN BY ANGELEA VAN DAM
*We recommend Canon‘s PIXMA printer – to learn more about this printer, check out the Fall 2016 Issue of DO Magazine for an in-depth review.
Wet-on-Wet Watercolor Technique
Next postColoring for a Cause
Previous postYou may also like


Wet-on-Wet Watercolor Technique
